Managing areas and tables
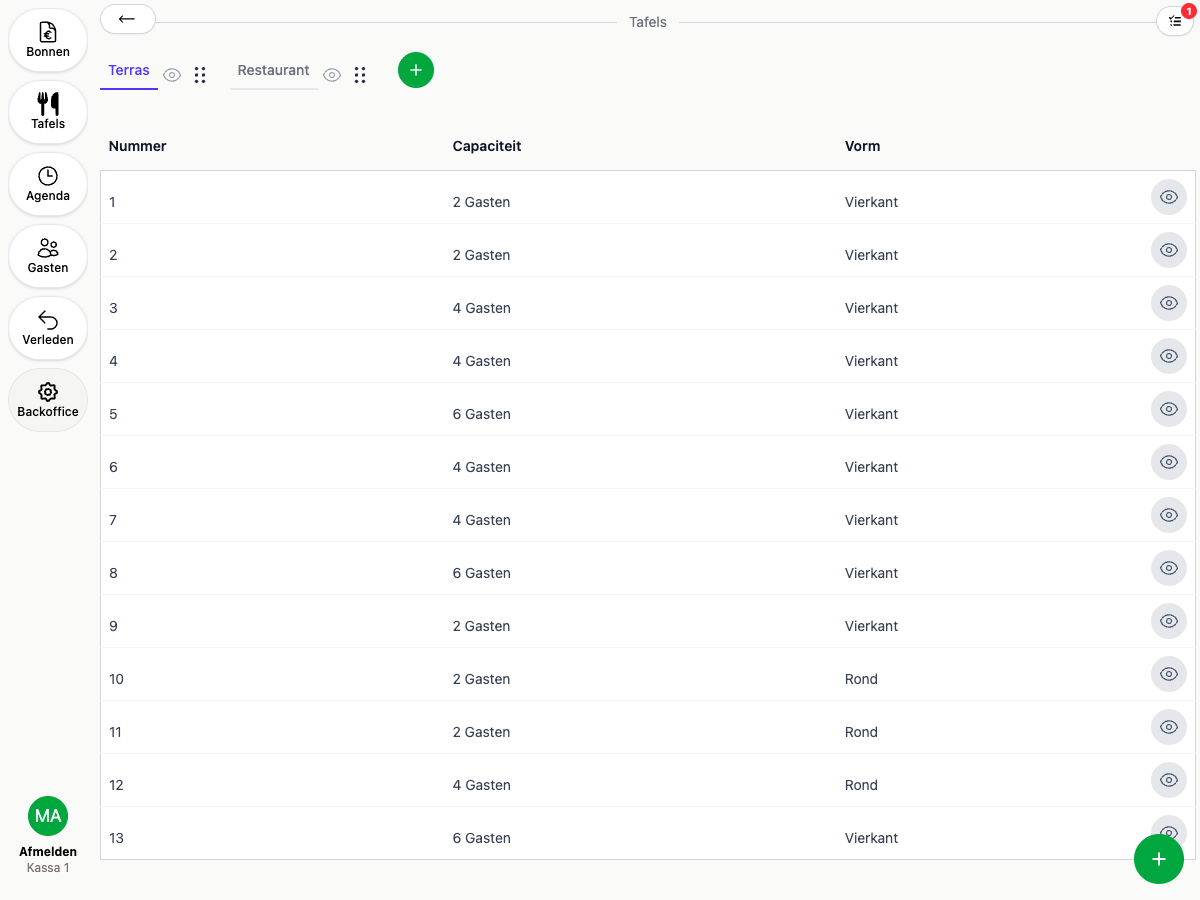
Head to the Backoffice and click Tables to manage all your areas and tables.
Areas
Your areas sit along the top of the screen as tabs, for example “Terrace” and “Restaurant”.
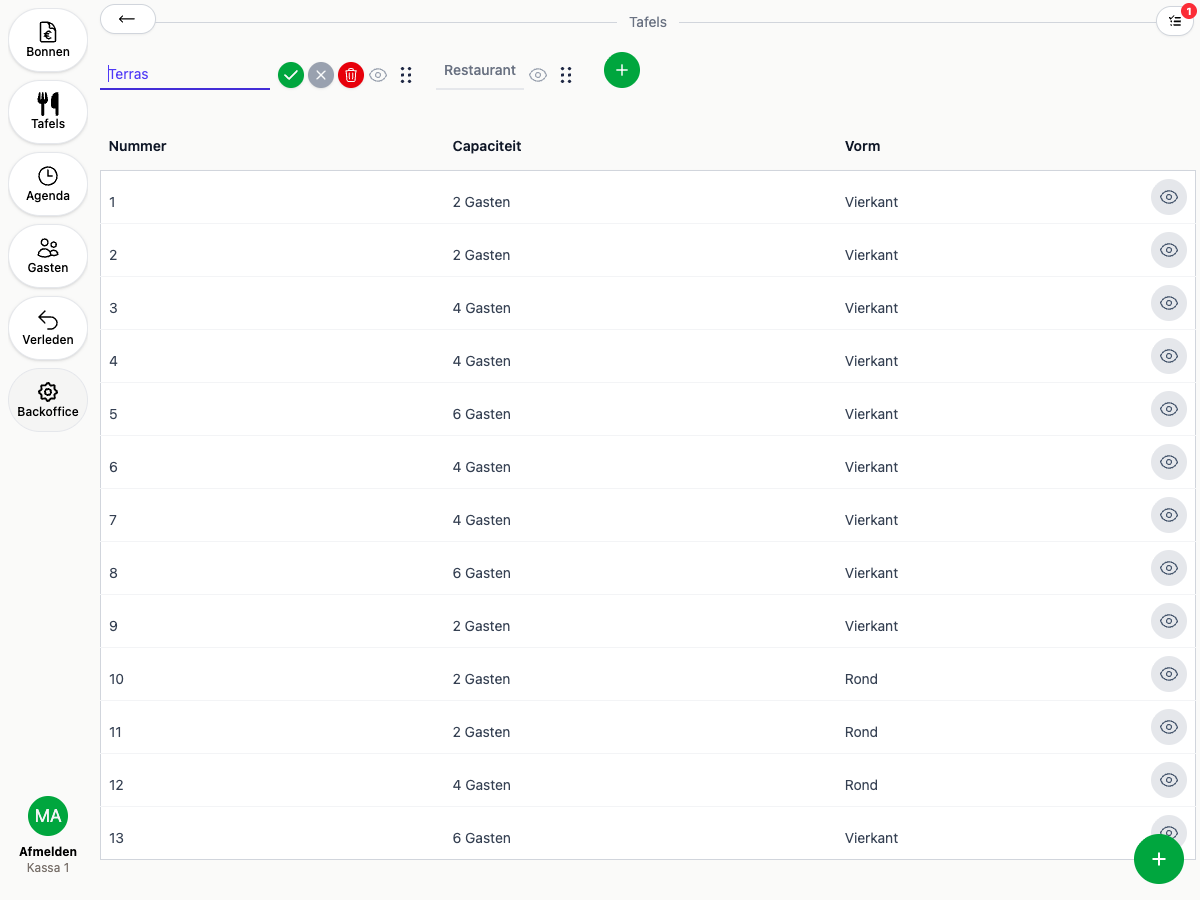
- Add: click the plus button next to the tabs, type a name, and confirm with the checkmark
- Rename: click the active tab, edit the name, and confirm with the checkmark
- Reorder: drag an area by the dots into the right order
- Hide: click the eye icon next to an area to temporarily hide it from the POS
- Archive: click the trash icon on the active tab and choose Archive. This also archives every table in that area
Tables
Below the areas you’ll find the tables for the selected area.
- Add: use the round + in the bottom right
- Edit: click a table to change its number, capacity, and shape
- Hide: click the eye icon next to a table to temporarily hide it from the POS
- Archive: open the table and choose Archive from the menu
Hiding versus archiving
Hiding is meant to be temporary: click the eye icon again and the area or table is instantly visible once more. Archiving an area or table is meant to be permanent: the area or table disappears from the POS for good, including any links like a floor plan position. A table with open bills, reservations, or a floor plan position can’t be archived.
Want to hide a category on your Buttons screen the same way? See Setting up your POS with buttons. Want to place tables on a floor plan? See Floor plan.