
Roles
A role is a set of permissions you can assign to staff. Use roles to decide who can apply discounts, process refunds, void receipts, and more.
If a staff member has no role, they’re unrestricted and can do everything. Assign a role to limit what they can do.
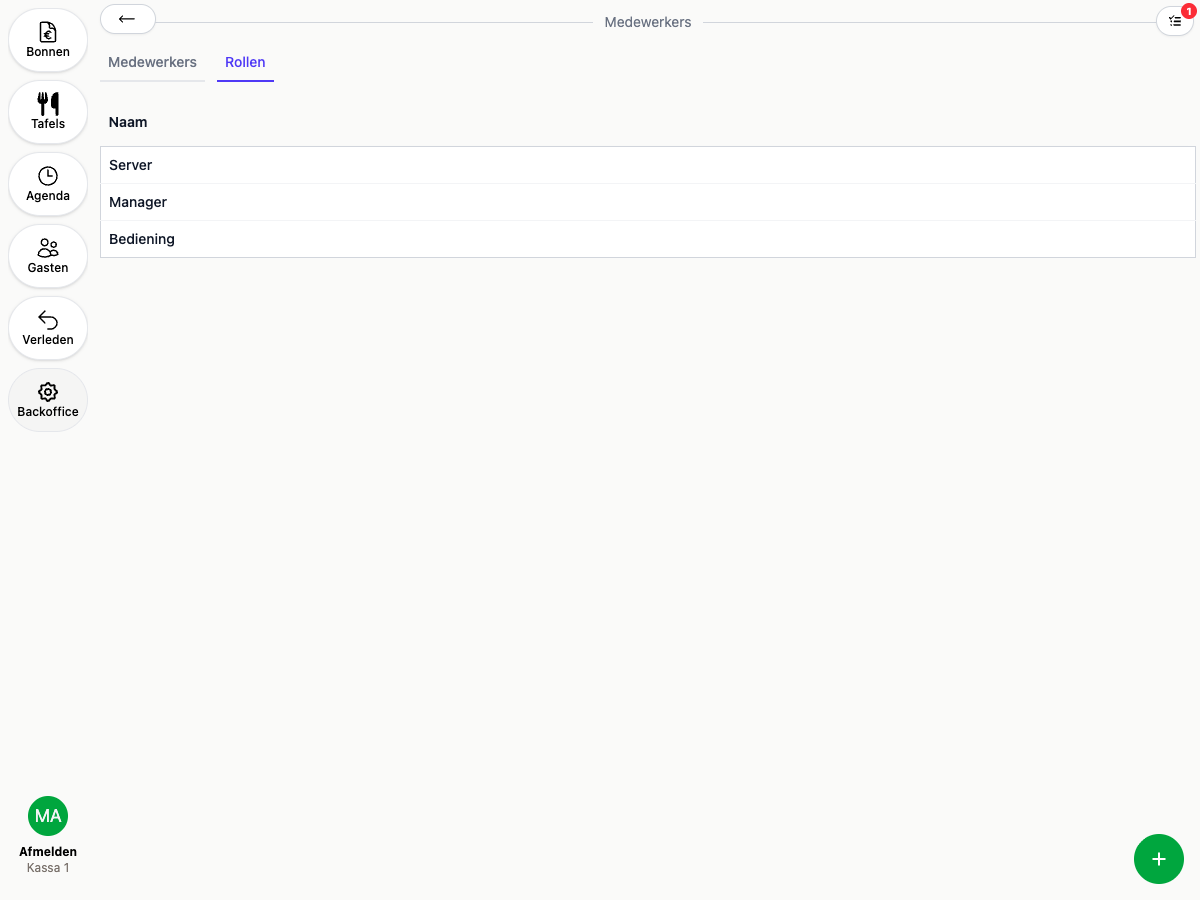
Creating a role
- Open the Backoffice and click Employees, then the Roles tab
- Tap the green plus button in the bottom right
- Give the role a name, for example “Server” or “Manager”
- Check the permissions this role should have
- Save with the green tick
Available permissions
- Move receipts
- Payments
- Void receipts
- Remove items
- Representation
- Own use
- Apply discounts
- Refunds
- Open cash drawer
- Send email
- Revert course
- Manage customer balance (only available if loyalty balances are enabled)
Assigning a role to staff
Open a staff member’s details from Backoffice → Employees and pick a role from the Role dropdown. See Staff for adding and managing staff.
Editing or removing a role
Open the role from the Roles tab to rename it or change its permissions. Staff currently assigned to a role are listed on its page, so you can see who’s affected before changing it.
Deleting a role removes the restriction from any staff still assigned to it, so they become unrestricted rather than blocked. Reassign staff to a different role first if you want them to stay restricted.