Marking receipts
Markers give a receipt an eye-catching label: a coloured circle with an icon. Everyone sees at a glance that something is up with a table or order, a guest with an allergy for instance. Markers show on the register and the kitchen display, and get printed on the preparation ticket, so the kitchen can’t miss them.
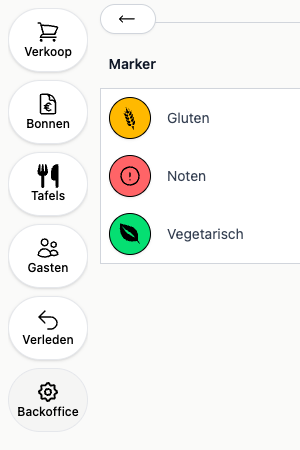
Creating markers
You manage markers in the backoffice under Markers. Give each marker a name, an icon and a colour.
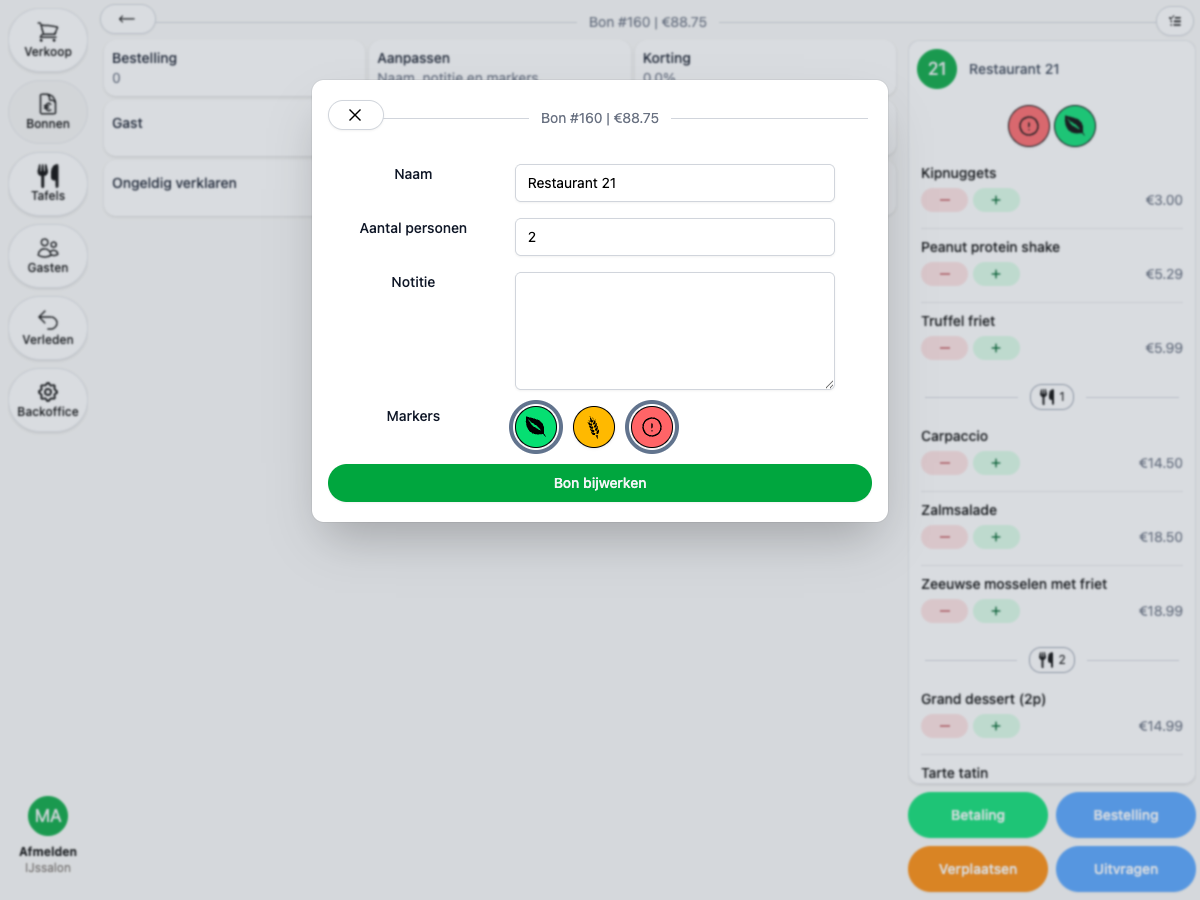
Marking a receipt
Open the receipt on the register and choose Edit, or click the receipt’s name in the top right. Pick the markers you want and update the receipt.
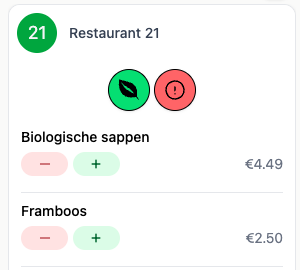
The markers appear at the top of the receipt:
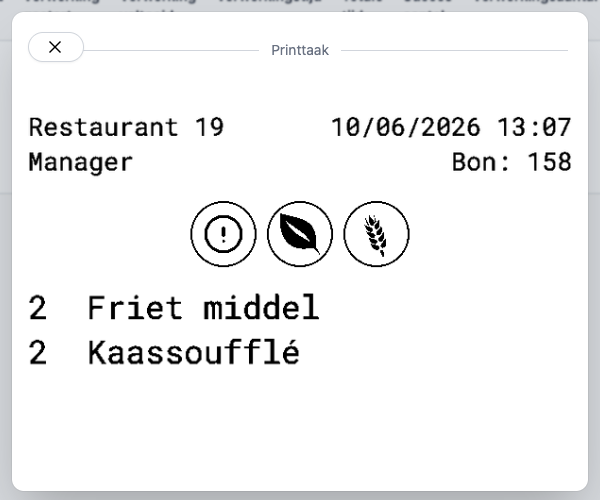
Markers on the preparation ticket
Markers get printed at the top of the preparation ticket. The kitchen sees right away that something is up with the order, even when they work on paper only.
Marking automatically with product markers
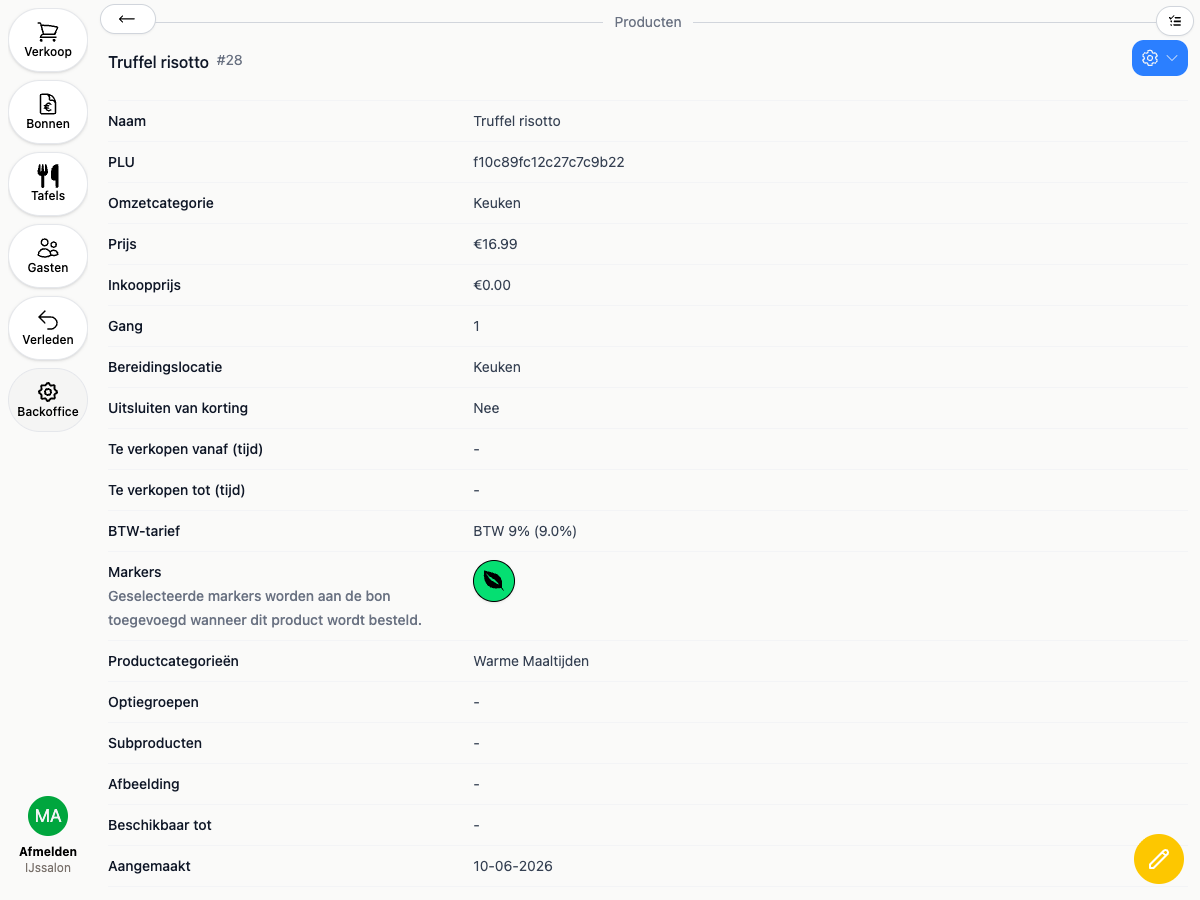
You can also attach markers to products. Every receipt that gets such a product ordered on it receives the marker automatically. Open a product in the backoffice and tick the relevant markers under Markers.
The marker disappears by itself once the last product carrying it is removed from the receipt. Markers you added by hand stay put.